Migrate OST to Office 365 Securely Using 2 Different Approaches


Are you looking for solutions to migrate OST to Office 365? This is the right place to find a solution on how to import OST files to Office 365. We will discuss different ways to move OST files to Office 365 step by step.
I found various user queries who are looking for a solution for this operation. Let us understand why users are migrating from OST data to O365.
Exchange Server used with MS Outlook and save data in the form of OST. And OST file enables users to access all the data in Offline mode. And when it gets connected, it synchronizes with Exchange Server. Due to the various cloud features & seamless collaboration offered by Office 365, users tend to perform this quite often.
It may be the user’s personal requirement or the latest technology which attracts them such as large storage, smart in-built features, and access to the latest version of Office 365 are some of the features users might get attracted to.
Let us learn the different processes for this task.
Migrate OST to Office 365 Manually
Manually the process is distributed in two parts:
- Convert OST file to PST format
First of all, you need to convert the OST file to Office 365 file format i.e PST. And then, perform the following
- Open MS-Outlook.
- Click on File –>Import/Export-> Next
- Import from another program of file
- Select .pst and click Next
- Select the file or folder and check Include Subfolder.
- Browse the location you want to save your file and click Finish.
- Upload PST to Office 365
Now migrate the PST file to O365, by Network upload using AZCopy or by Drive shipping. In the drive shipping method, you just need to copy PST files to a hard disk and send the drive to Microsoft.
In-Network upload method, you can directly upload PST Files using AZCopy. Here are the steps:
- Install AzureAzCopy and copy SAS URL
- Import PST Files to Office 365
- Create a PST CSV file to map the PST file into the mailbox account.
- To import a PST file, create an import job in Office 365.
- Filter the PST data and start a PST import job.
Must Read: Export Office 365 Mailbox to PST Admin Center – Step By Step Solution
Recommended Way to Import OST to Office 365
The above method is quite time-consuming, also OST files cannot be reused and directly imported. If you haven’t heard about the Azure AZCopy tool method or Powershell command and looking for a quick and instant solution or then you should go for an expert solution to migrate OST to Office 365 i.e. OST to Office 365 Importer Tool.
It migrates all OST file data: emails, appointments, tasks, contacts, and meetings to Office 365. The tool is able to migrate multiple OST Files to Office 365. You can import OST files to Office 365 primary as well as archive mailbox as per your need.
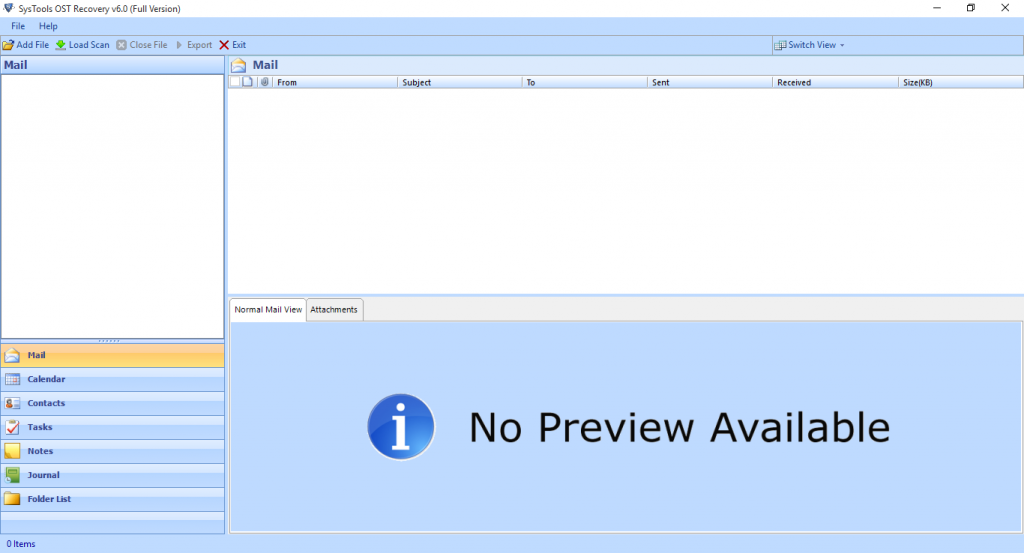
The software has a simple GUI which helps in detecting and recovering the OST file. You have the option to move specific data using the Date-Filter option if you want to export specific data. If your data get accidentally deleted, you can be able to retrieve it.
Here are the Software Steps to Migrate OST to Office 365:
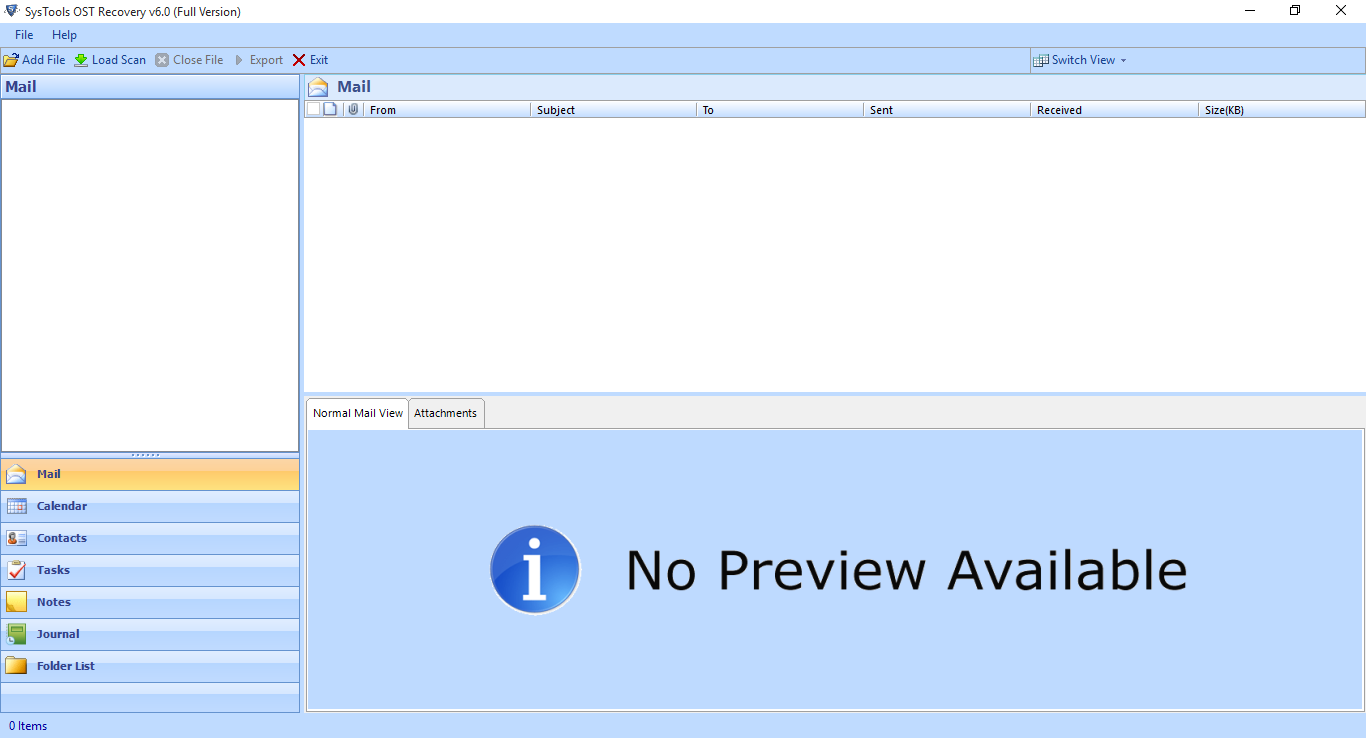
- Download, Install and Open software to Import OST files to Office 365 account.
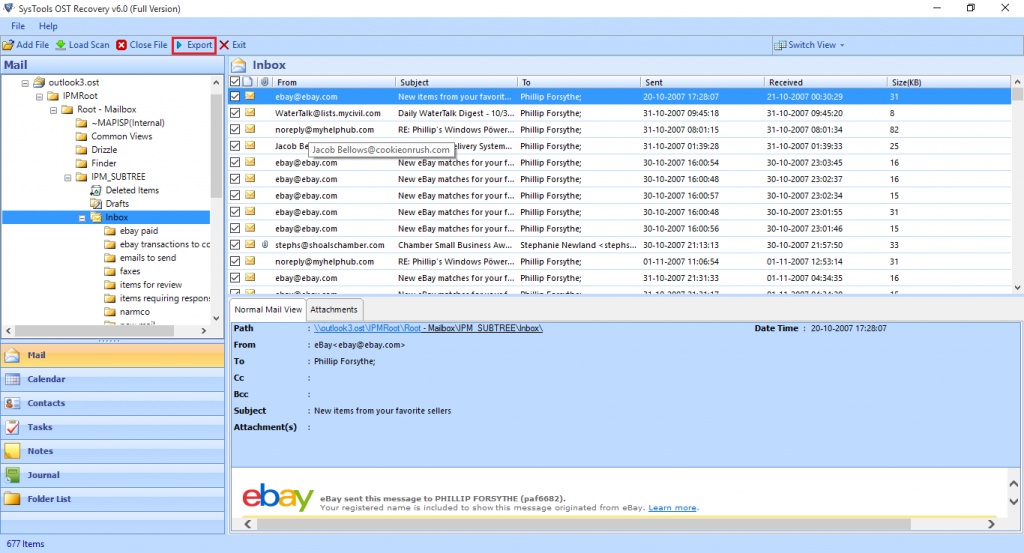
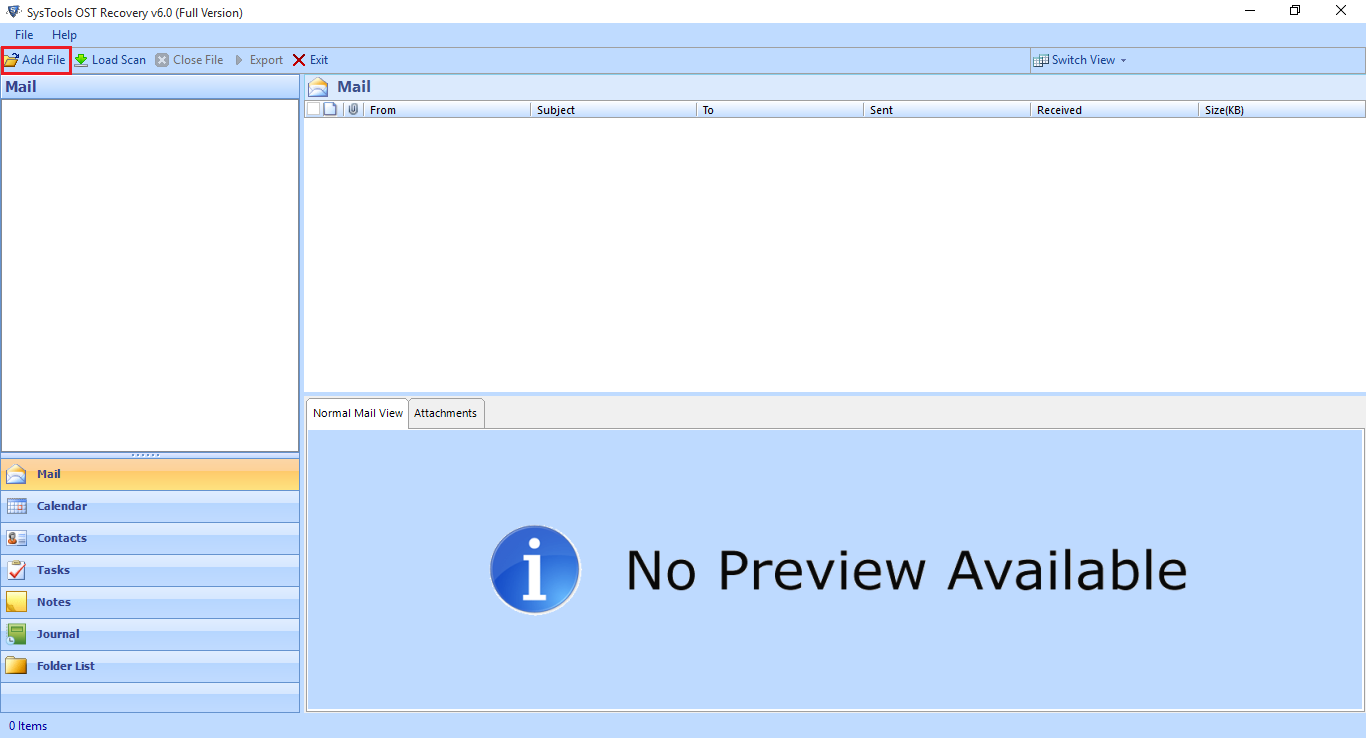
- Click on Add File to load the OST file for conversion in Office 365

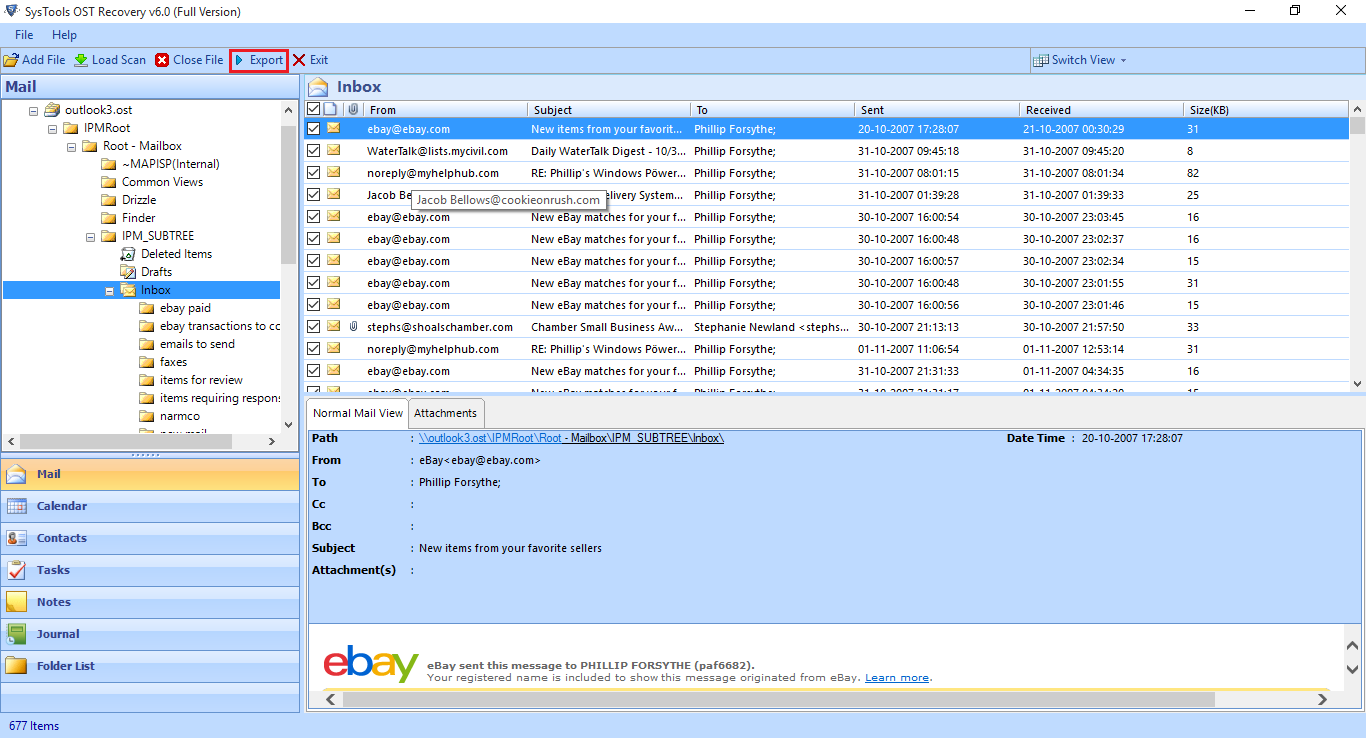
- You will get a preview of the OST file. After loading it to the software, Click Export.
- You will get four different options for converting the OST file. Click Office 365 checkbox. And Click Advance Settings
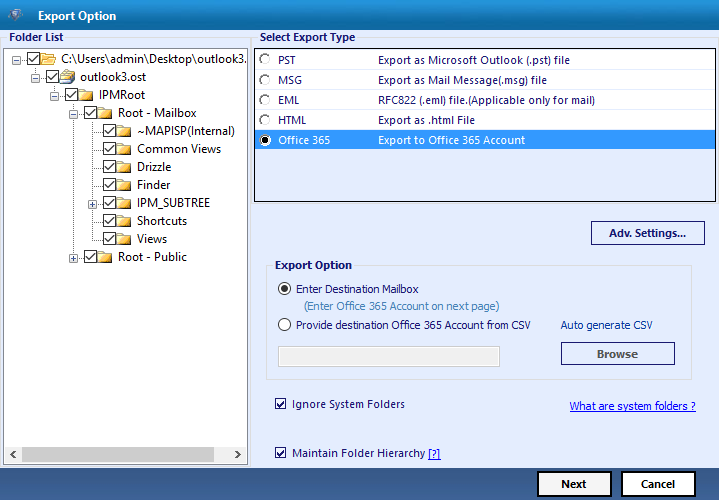
- In the Advanced Settings option, you need to provide the username and password of the admin account.
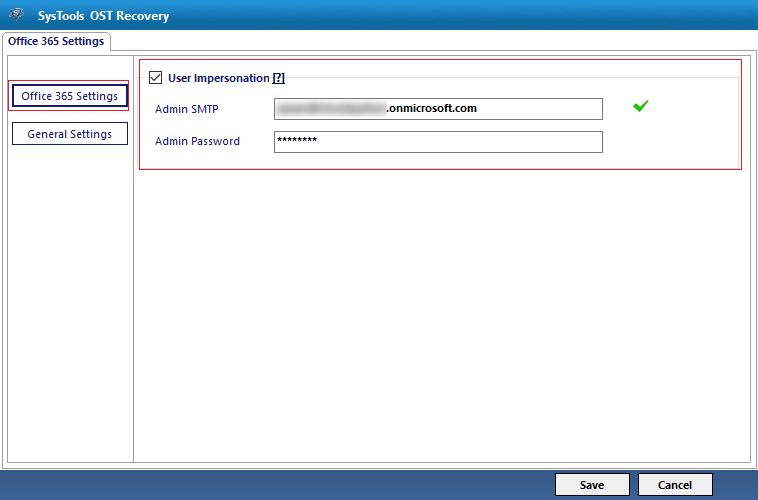
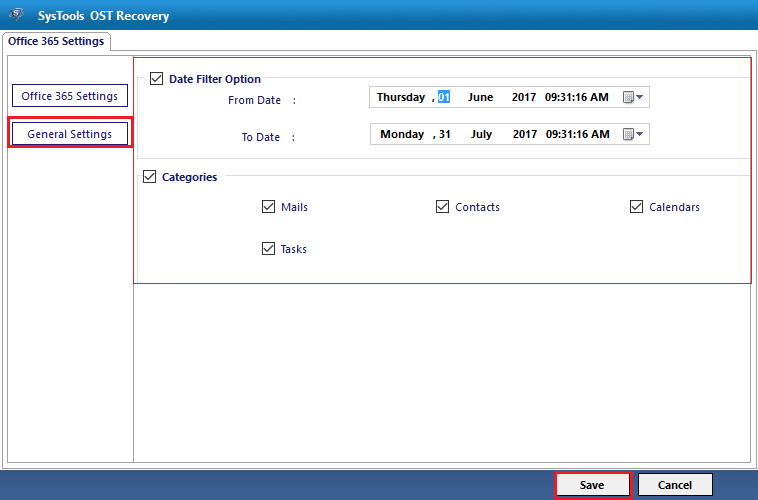
- If you want to migrate specific data of the OST file then you can do this using the Date-filter option. Select the date from which you want to migrate OST data to Office 365. and click Save.
For Importing OST File to Office 365;
- Click on the Enter Destination Mailbox radio button. It will generate the success and fail count of exported items.
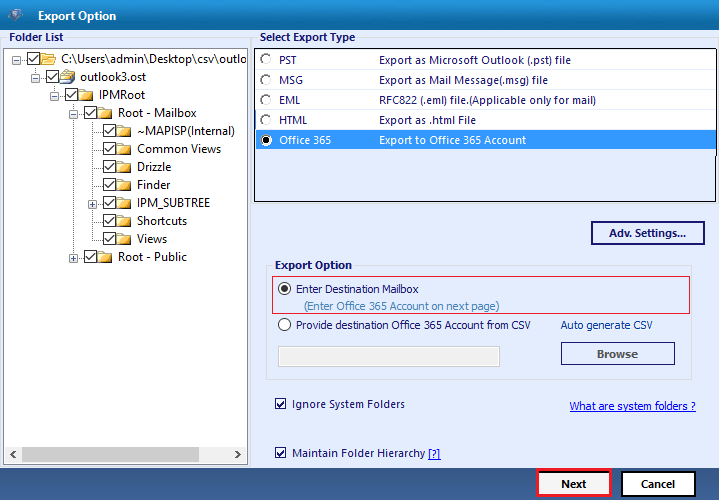
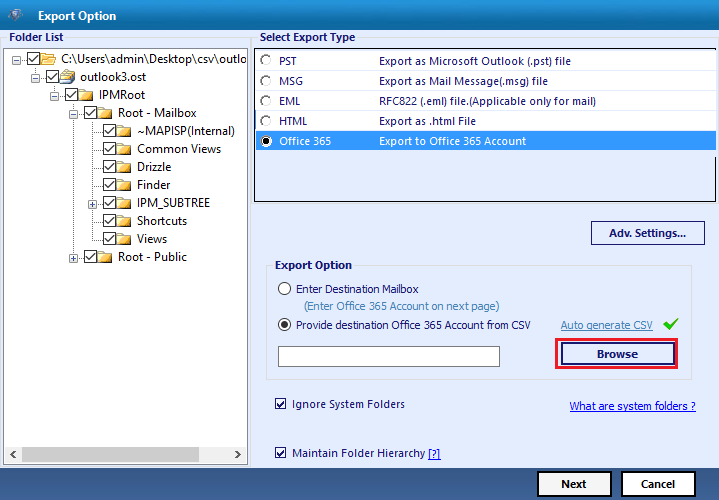
- If you want to save in CSV format then browse the location of the CSV file. Click Ok
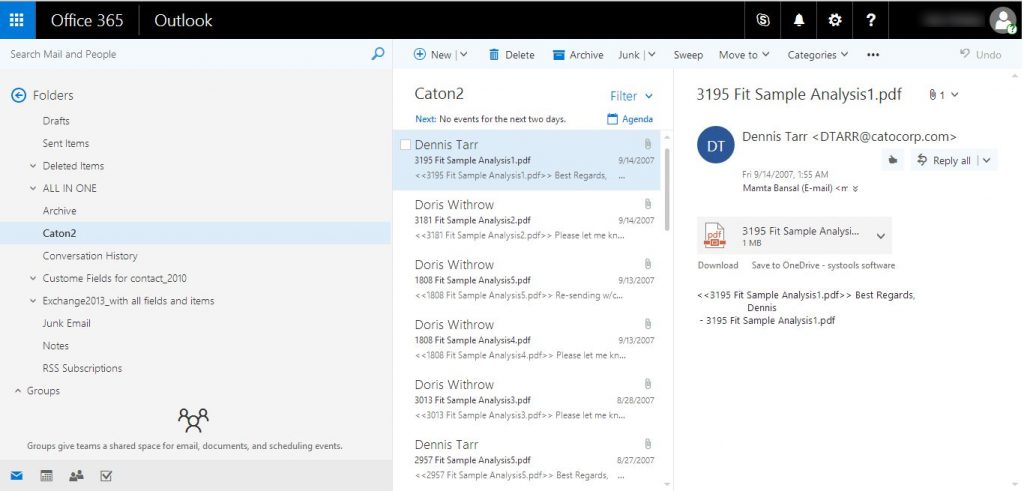
- Open Office 365 and view all OST file data to Office 365.

Also Read: Download PST File from Office 365 Online – Quick way to Create PST Files
Conclusion:
The blog is for all those users who want to migrate OST to Office 365. The blog discusses both manuals as well as an alternate option to move OST files to Office 365. Users can use it as per their requirements.