4 Ways to Troubleshoot Windows 10 Automatic Repair Loop


Sometimes, Windows Automatic Repair gets stuck in a loop of repairs and then restarts, only to go back to repairing again. Or, it could be found stuck in the “preparing automatic repair windows 10 loop” screen. There are a few fixes, as per the situations you get into, to help you overcome the Windows 10 automatic repair loop issues.
Windows automatic repair not working issues in Windows can trouble users for hours or even days. Whenever a user faces such problems, boot failure on the computer is typically encountered. This means that all the services, programs, and files on the computer become inaccessible.
Automatic Repair is an in-built feature just like Startup Repair, made to fix boot-related issues. When a problem arises on Windows OS, it starts working automatically. It is true that it doesn’t work each time. Some users have experienced issues relating to Automatic Repair.
What Causes the Windows Auto Repair Loop?
Finding the cause of the error can help you find the right solution. Possible reasons include:
- Persistent problems related to the Windows registry.
- Invalid file in Windows Startup Manager.
- System files are missing or damaged.
- The driver is missing or has expired.
Also read: How to Unformat a Hard Drive?
How to Fix Windows 10 Automatic Repair Loop
Situations you may find yourself in:
You may find yourself in the following situation when Automatic Repair starts and fails:
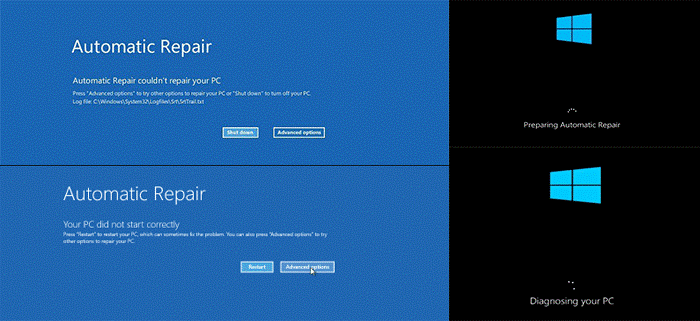
- When you see a black screen with a “Preparing Automatic Repair” or “Diagnosing Your PC” error message,.
- When Windows says it is preparing automatic repair, at the end, you see a black screen with nothing on.
- When you see “Your PC did not start correctly” or “Automatic repair couldn’t repair your PC” messages on your screen with a blue background,. If you choose to click “Restart”, you will be stuck in the Automatic Repair Loop.
Let’s take a look at the solutions to the preparing automatic windows 10 automatic repair loop error.
Also Read: How to recover permanently deleted data from laptop in Windows?
Solution 1: Hard Boot
If you are unable to boot your Windows because of the “Preparing Automatic Repair” or “Diagnosing your PC” error, you can hard boot your PC.
You can do so by following the steps below:
- Remove the battery and adapter of the AC.
- You can also press and hold the power button for 20 seconds and check for Windows to boot up normally.
If the error is not solved by following this method, move on to the next.
Solution 2: Boot in Safe Mode
Try to boot your Windows after entering into safe mode. Follow the steps mentioned below to do the same.
- Turn your computer off.
- Place Windows bootable installation disk in your PC and boot from it.
- Press any key to boot from CD or DVD when prompted. Press any key to continue.
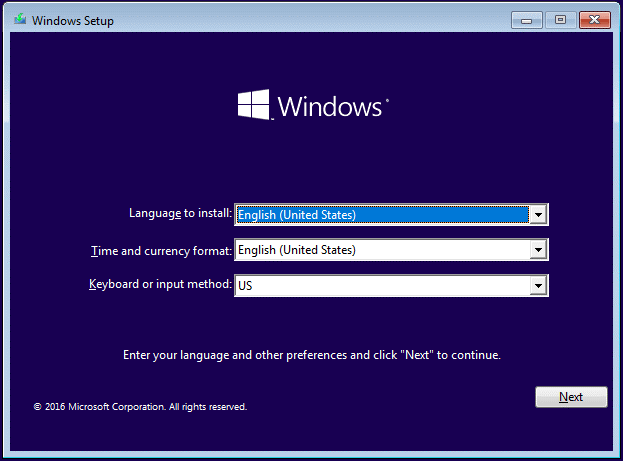
- Choose the language as per your requirement. Click on the “Next” button.
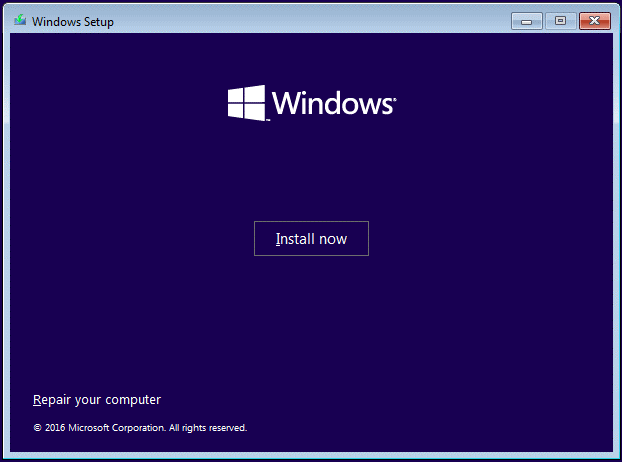
5. Hit “Repair your computer.”
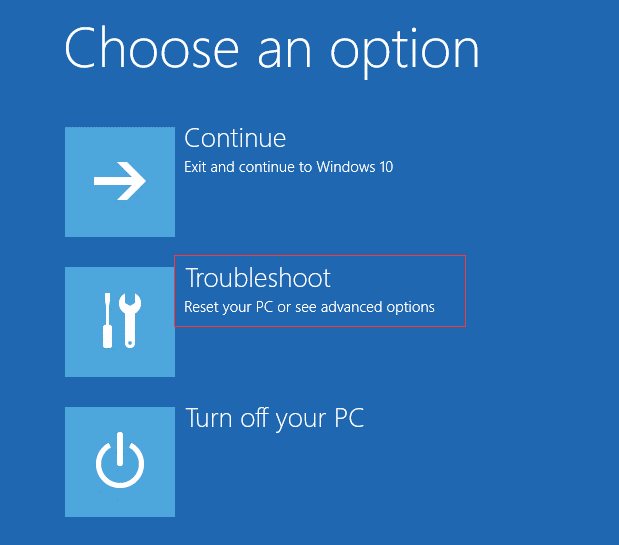
6. Choose “Troubleshoot.”
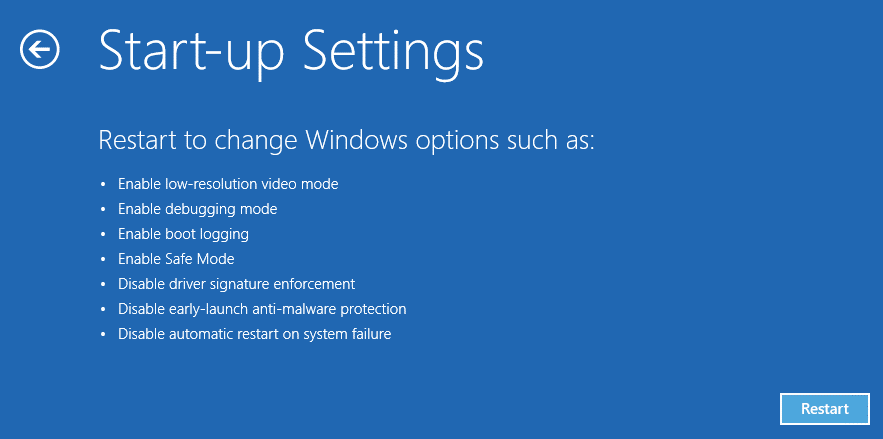
7. Choose “Advanced options” and go to “Startup Settings.”
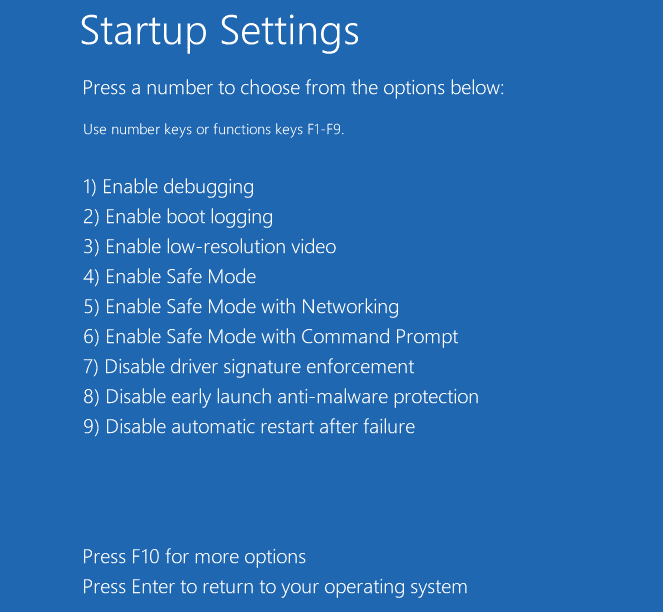
8. Hit “Restart,” and your computer will show another screen with different startup options
9. After that, press the F4 key to boot into Safe mode
Solution 3: Check your Hardware
There could be an issue with the hardware and software if Windows 10 is not able to overcome the endless repair loop issue. Maybe the hard drive (SSD or HDD) is failing to handle large Windows files, or the RAM of the computer cannot load the Windows on a hard drive. There are a few troubleshooting methods to check the specifications of your Hardware.
If none of the above-mentioned methods work, you can use third-party software to resolve the issue: “Preparing automatic repair loop in Windows 10.”
Solution 4: Third-Party Software
Use the Windows Data Recovery Software to solve the issue of getting stuck in the automatic repair. The software enables you to recover permanently deleted, formatted, and corrupted files from Windows OS. Accidentally deleted files from Windows and those removed from the recycle bin folder can also be recovered.
1: Download the Windows Data Recovery Tool.
2: Next, scan the hard drive partition.
3: Get a Preview of Windows Data Files.
4: Finally, Save All Hard drive data files.
Final Word
So, we were able to fix the Windows 10 automatic repair loop by reinstalling the Windows operating system. Therefore, you need to follow these simple steps to get your laptop or computer running smoothly again. Don’t miss any method; follow all methods for a complete recovery. If the problem persists, the hardware or hard drive may be damaged.