Migrate Public Folders from Exchange 2007 to Office 365 : Unmatched Solution


Nowadays, more and more organizations are moving towards a cloud-based environment from the on-premise emailing setup. However, looking for the best way to perform migration has been an area of interest for experts. So, we will be discussing multiple methods to migrate public folders from Exchange 2007 to Office 365 in this article. Although, one cannot say that there is some bad way or a good way. It totally depends on the requirements of the organization which includes the size of the on-premise environment, the number of users to be migrated, the base messaging environment, and some other aspects. Users can choose the methods that best suit their requirements.
Ways to Move Public Folders from Exchange 2007 to Office 365
1. Cutover Migration – This process is used if an organization needs to transfer all mailboxes at once. This migration is suitable for the situation if the total number of mailboxes is less than 2000. Another aspect that matters is that the organization is using Microsoft Exchange 2013, 2010, 2007, or 2003.
2. Staged Migration – It is used to migrate mailboxes in a batch. This conversion process is advised to the users if the number of mailboxes that are to be migrated is more than 2000. This process is also apt for the conversion if the organization is using Exchange 2003 or 2007.
3. Hybrid Migration – This migration type is one of the smoothest of all the processes but it is most complex as well. It enables organizations to maintain both on-premises and online environments allowing users to gradually migrate public folders from Exchange 2007 to Office 365. This technique should only be used if the organization is using Exchange 2010 or 2013 and the mailboxes are more than 2000 which is to be converted. The transfer process is carried out in small batches over time.
4. IMAP-Based Migration – If the Exchange Server supports Internet Message Access Protocol (IMAP) then you can use this method to perform the conversion. Moreover, this method has some limitations such as it allowing users to move items of inbox only. Other mailbox items which include contacts, calendars, tasks can’t be migrated. It doesn’t create a mailbox in Office 365, you have to first create a mailbox for each user before starting the migration process.
Cutover Method For Public Folder Migration Exchange 2007 to Office 365 -1st Phase
In this article, we are discussing the conversion of Microsoft Exchange 2007, so Hybrid Migration is not suitable for us. Next, the IMAP method also isn’t suitable to migrate public folders from Exchange 2007 to Office 365 because of its limitations. So, we are left with both cutover and staged migration and here we are discussing the steps to perform the cutover migration.
Cutover Migration
Step 1 – Plan
Microsoft Exchange Deployment Assistant (EDA) is the best utility that guides all migration scenarios.
- Open EDA Website.
- Click on ‘Cloud Only’ option.
- Answer the questions which are related to end-state goals and existing setup.
- Click Next.
- The Exchange Deployment Assistant will generate a step-wise guide.
Step 2 – Verify the Existing Setup
To perform this process, Exchange 2007 should support Outlook Anywhere and Autodiscover. Use the guide generated in Step 1 to check whether the existing setup is correct or not. Then use MS Remote Connectivity Analyzer to verify Outlook anywhere. Now, allocate all the permissions to the mailboxes which are to be converted. If users will skip this step then the process to migrate public folder from Exchange 2007 to Office 365 will fail.
- Open RCA website.
- Select Outlook Anywhere test.
- Select Next.
- Fill in all the required information.
- Type the verification code and click on Perform Test.
If the above process gives a warning message, then refer guide and verify if any mistake is made.
Execute the 2nd Phase of Cutover Method to Get Results as Expected
Step 3 – Configure & Start Migration
- Launch the browser and log in to Office 365 Admin Center.
- Open Exchange Admin Center.
- Click Migration and then + drop-down menu. Now, Select Exchange Online.
- Choose Cutover Migration and then click Next.
- Enter the account details of the on-premises account.
- Click Next.
- Enter the name of the New Migration Batch.
- Select Next.
- Choose a recipient for the migration at the end of the process. You can select several accounts here.
- Select ‘Automatically start the batch’ or ‘Manually start the batch’ as per your requirements.
- Click on the New option.
Performing the above-mentioned steps will create the migration batch and will set its state to syncing. The time consumed to complete the entire process totally depends on the number of mailboxes and the amount of data.
Step 4 – Complete the Migration
When the process completes, then the selected recipient will get the report.
- Transfer Public Folders.
- Allocate Office 365 license to all users.
- Verify that all DNS records are updated and point towards O365 services.
Note – You may find the involvement of DNS replication but you should keep running the batch for 72 hours to enable the replication process.
- Configure the desktop machines to use O365 services.
- When you are sure that the DNS replication process is completed and all emails are converted, then stop the migration job.
Automated Solution: Migrate Public Folders from Exchange 2007 to Office 365
Due to the limitations present in the manual methods, a majority of users ask for alternative solutions. In such cases, they should try the automated tool. This utility supports offline/dismounted public and private Exchange database files. Users can easily load the Exchange 2007 pub1.edb file and migrate directly to Office 356 or any other platform in a hassle-free way.
This recovery manager for Exchange database tool provides a scan mode option that recovers & repair pub1 .edbfile and priv1 .edb file from corruption and users can export the recovered Exchange data directly to O365, Live Exchange Server, and various file formats.
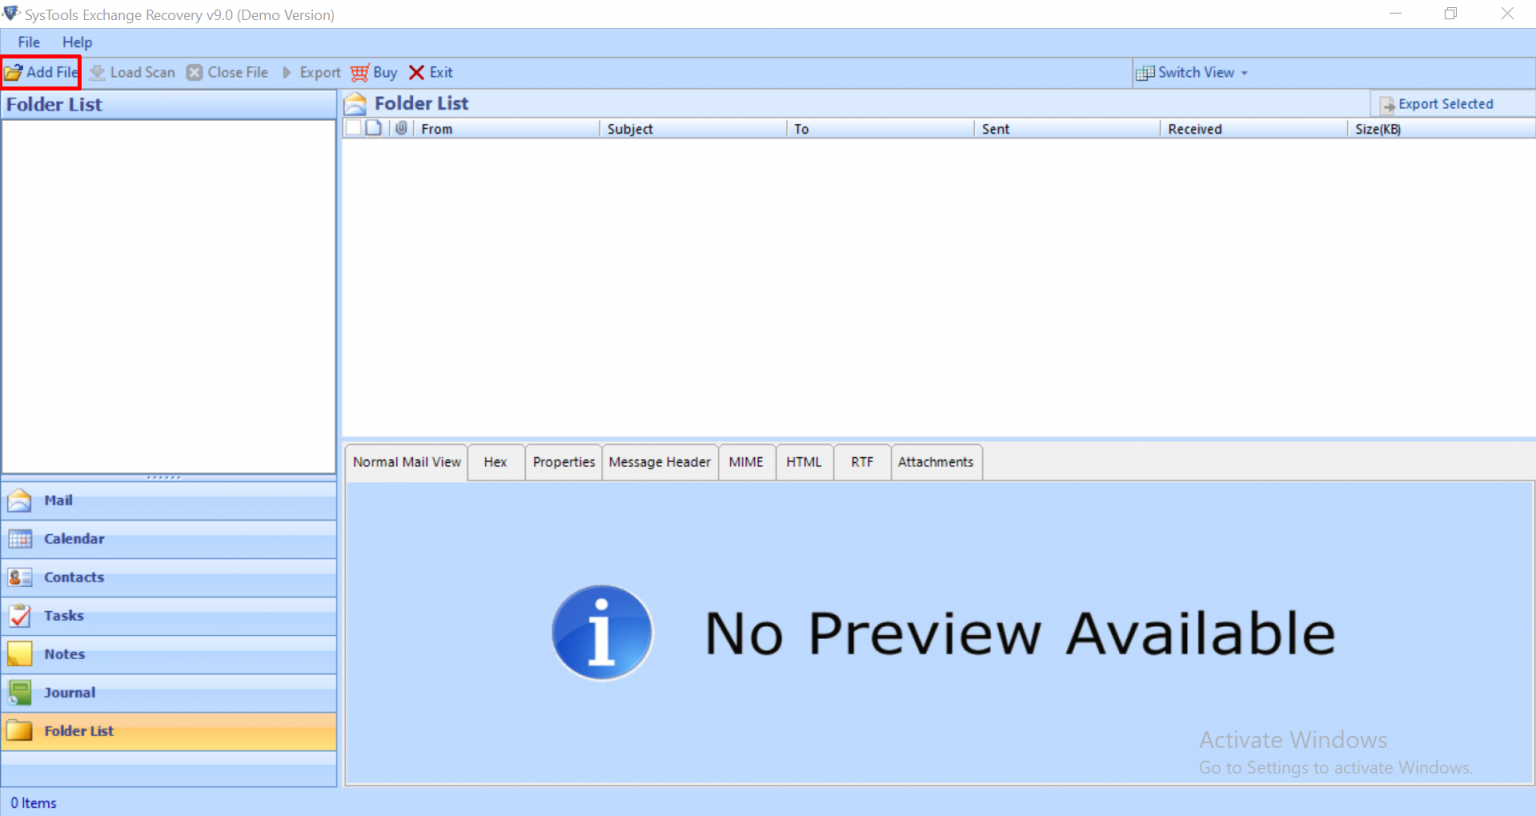
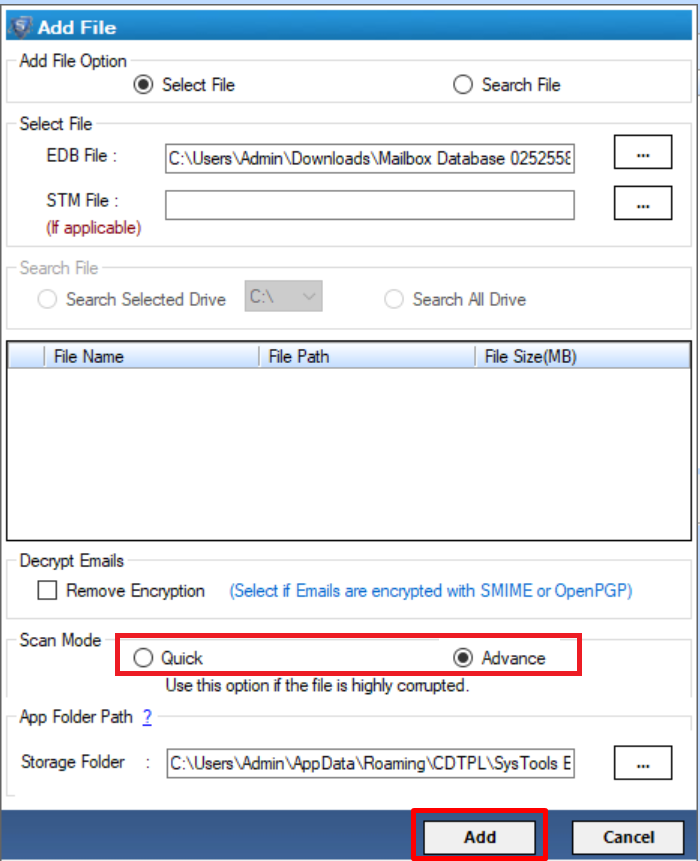
Step-1. Open Exchange Recovery Tool and Click on Add File button to load the offline EDB file.
Step-2. Select the Advance Scan Radio button >> Click on the Add File button.
Step-3. Select Office 365 as Export Type & Click on Advance settings.

Step-4. Enter Office 365 Admin Credentials & Move one step closer to migrate public folders from Exchange 2007 to Office 365.

Step-5. Click on Enter Destination Mailbox or Provide CSV Radio button >>Next >> Click Export button.

Key Features Of Automated Software
- Support Exchange EDB and STM files.
- Preview mailbox data items before conversion.
- Convert EDB to EML and various file formats.
- Preserve actual folder structure and keep metadata intact.
- Remove email (SMIME/OpenPGP) encryption from EDB mailboxes.
- Date filter option export Exchange mailbox data within a specified date range.
- Suitable with all the versions of MS Outlook, Windows OS, & Exchange Server.
Conclusion
If you want to migrate public folders from Exchange 2007 to Office 365, it is not a difficult task anymore. Moreover, you can perform this task easier if you have fewer Exchange mailboxes. But, if you have a huge amount of data and want to perform this conversion process quickly then you can use the above-mentioned automated wizard which can help you to perform this migration in an easy manner without any hindrance.