Import Outlook Folders to Office 365: Some Popular Methods


Looking for a way to import Outlook folders to Office 365? Read on as this write-up contains some popular solutions to execute this task safely.
Both Outlook and Office 365 are currently at the height of popularity. Users of both personal and enterprise-level are the subscribers of these Microsoft services. Guess, someone uses both Outlook and O365, or someone may be switching from Outlook to Office 365. Now, that person is in a need to transfer certain Outlook folders into Office 365. What will that person do? The answer lies in this post. Continue reading to find out.
There are two different ways to import Outlook folders. One is the native technique and another is an automated technique. Here, we will shed light on both methods and see which one is more convenient for the users.
Quick Steps to Transfer Folders from Outlook to Office 365
- Step 1. Run software & login with credentials.
- Step 2. Add required PST files
- Step 3. Provide Office 365 User ID & Password
- Step 4. Select desired Mail category
- Step 5. Click on Import to Start
Native Method to Import Outlook Folders to Office 365
This process only involves the Import Export Wizard of Office 365 email. Here, we are talking about moving any specific folder of the Outlook PST file into Office 365. That PST file already exists on our system.
- Log in to your Office 365 account by providing credentials.
- Click on the Menu icon and select Mail.
- Office 365 Mail/ Outlook 365 will open.
- Click on File>> Open>> Import.
- This will make Import and Export Wizard appear on the screen.
- Select Import from another program or file>> Next.
- Click on Outlook Data File (.pst)>> Next.
- Click on Browse to go to the location of the PST file and select that.
- In order to avoid any confusion, we suggest choosing the “Do not import duplicates” option. Click on Next.
- Now comes the most important part, selecting a folder. The Outlook data file is selected by default that will import the complete Outlook data, that we do not need. We want to import a particular folder that we will select.
- Choose Import items into the same folder in the option and click Finish.
Issues Coming up with Native Approach
The native method is a trusted solution no doubt since it is the method offered by Microsoft Office 365. However, there are some shortcomings of this process. Using this technique, users can not add multiple PST files at one go. Moreover, the process cannot be paused after commencement.
If the complete PST cannot be imported due to some error, there is no record of the failed item as no report is provided to the users.
You will also find it helpful: Outlook Cleanup Tool Not Working [Resolved]
How to Overcome These Problems?
All these issues can be resolved by applying the automated method, Office 365 Import Tool. This software is easy to operate since it has a user-friendly GUI. Now we will see how users can take the help of this software for a trouble-free PST folder import. Perform these steps to Import any outlook PST folder to Office 365.
Hassle-Free Steps to Transfer Folders from Outlook to Office 365
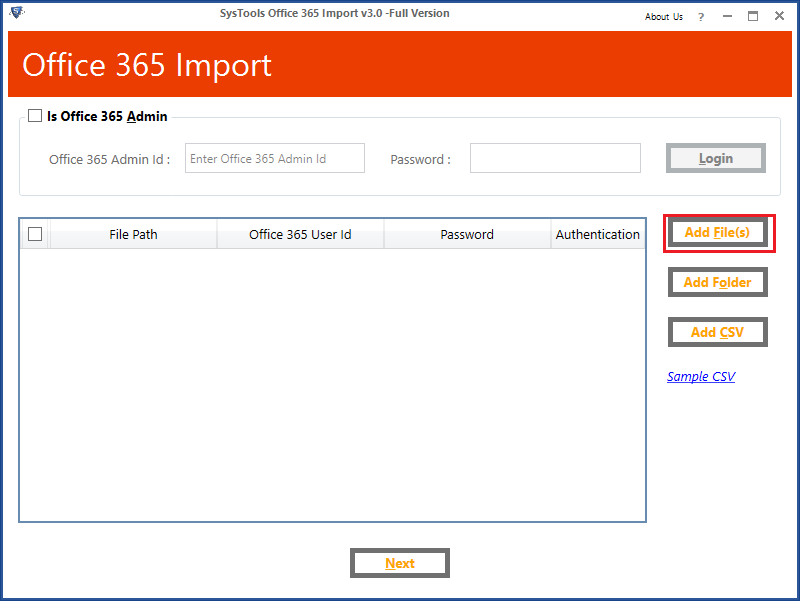
- Download & Open the software.
- Click on Add File(s) to add one or more PST files. Users can also use Add Folder or Add CSV options for bulk PST files at one go.
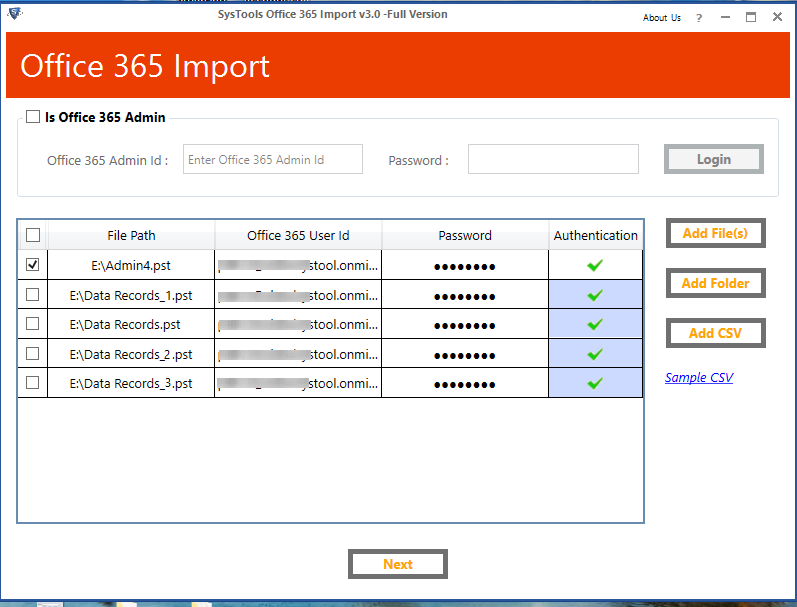
- Now enter the destination Office 365 User ID and Password for each PST file. The software will authenticate them. Click on Next.
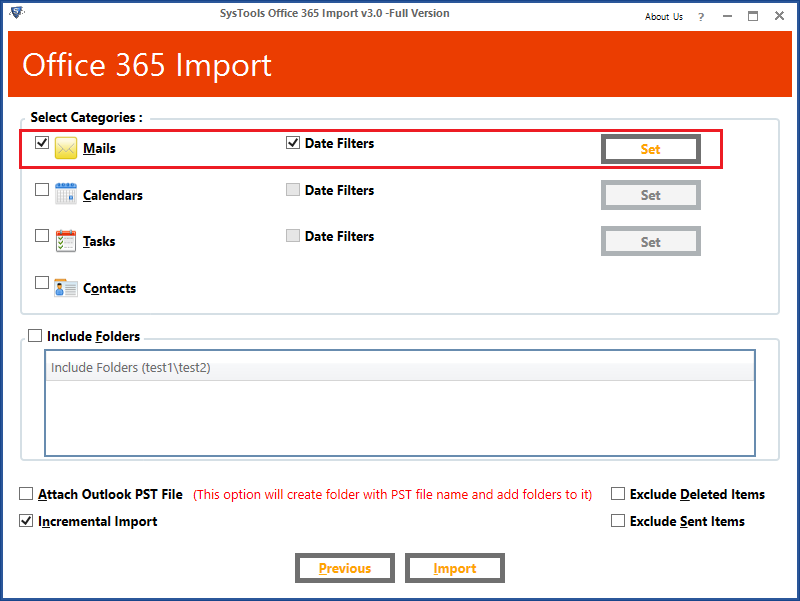
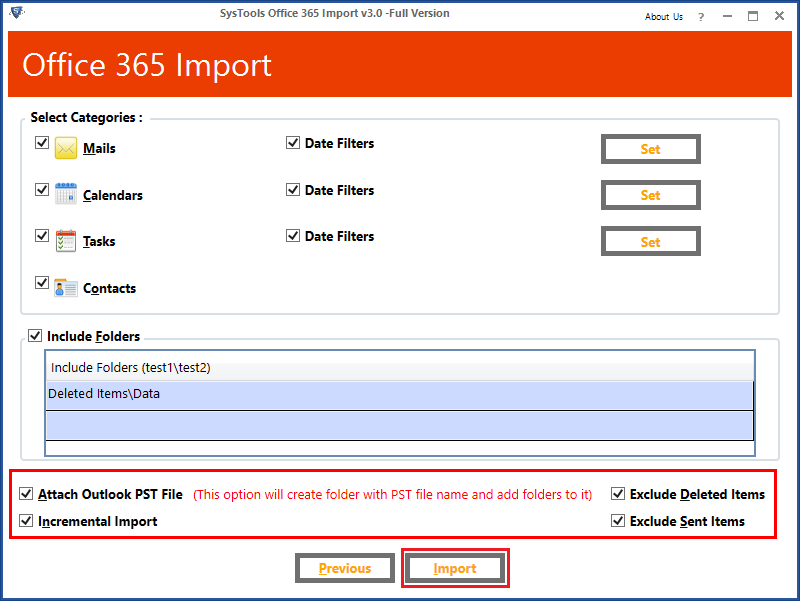
- Select the categories you wish to import. Here, we have to select the Mail category for importing mailbox folders.
- Check the box Include Folders. Then add the folder path that has to be imported.
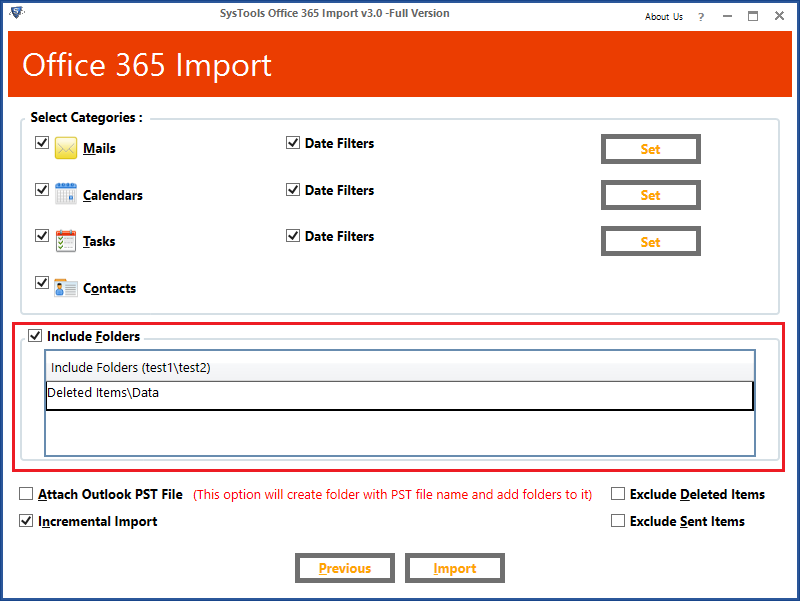
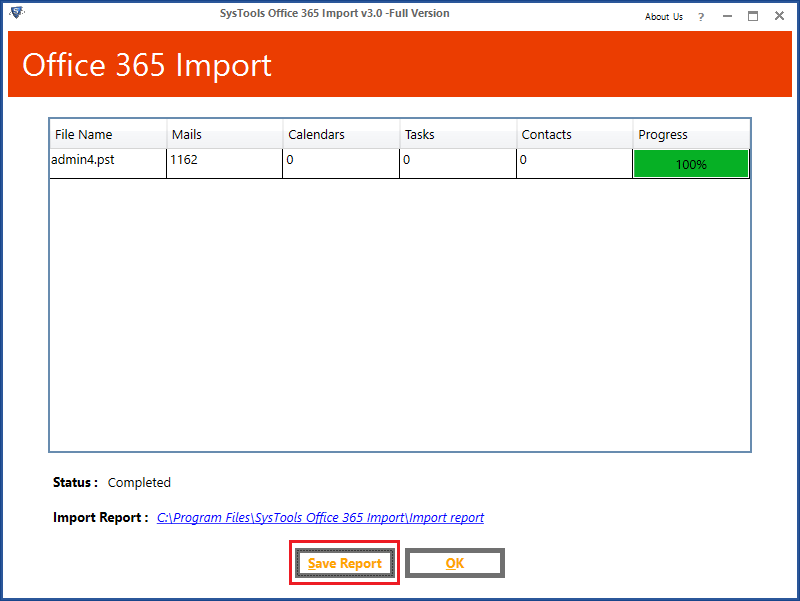
- Apply other settings is needed. Click Import and the application will import the selected folders to Office 365.
- Save Report if you want to.
- Navigate to Office 365 and check the PST folders have been moved successfully in it.
Why Should You Choose This Tool Over Native Technique
As discussed earlier, there are some shortcomings of the native/ manual method. Instead, people choose the mentioned application to avail these features:
- Batch Import of PST Files: Users can add multiple PST files at the same time that the software will process one by one in a batch. The tool also offers the option to add multiple PST files located in a folder.
- Incremental Import Option: Another fascinating feature of this program is an incremental import. This feature can be enabled when a PST file is being imported for the second time. It will start importing data from the point it ended last time. It will save time and space for the user and avoid redundancy.
- Pause and Resume Facility: The PST folder migration process can be paused at any time with the Pause option. It can also be resumed again after some time.
- Complete Export Report: When you use this software, it will provide you with a report. The report contains the complete summary of the import process and users can save it for later.
Conclusion
For Office 365 users, how to move Outlook folders to Office 365 is a common query. Many users try the manual technique, but it has got some limitations such as the inability to add multiple PST files, no option to pause the import, unavailability of migration report, etc. These are the reasons, people usually choose the above-mentioned tool to import Outlook archive to Office 365