User Profile Path in Windows 7 Registry


Every Windows version has a specific way of storing its data, program files, and user profiles, some of which are set to default. This has further made most of us depend on the default settings by Windows, either willingly or otherwise. Since, there is always a way out, especially when talking in terms of technical issues. Here are some long followed default settings in Windows that can be changed according to the convenience of each user.
What we are basically discussing in this article is divided into three segments each:
- Find user profile path in registry in Window 7
- Change user profile path in registry
- Change user profile name in registry
A Windows User profile is the main folder in the system storing user account. It contains all the shortcuts, account settings, user folder, and other related information. User profile is created by the system when a user logs into a particular computer for the very first time and more of them can be added later.
To Find A User Profile Path In Registry In Windows 7
The default location for the user profile in Windows 7 is C:\users
Follow the given steps to know how you can locate the path of your machine’s User Account on a Window 7 operated computer.
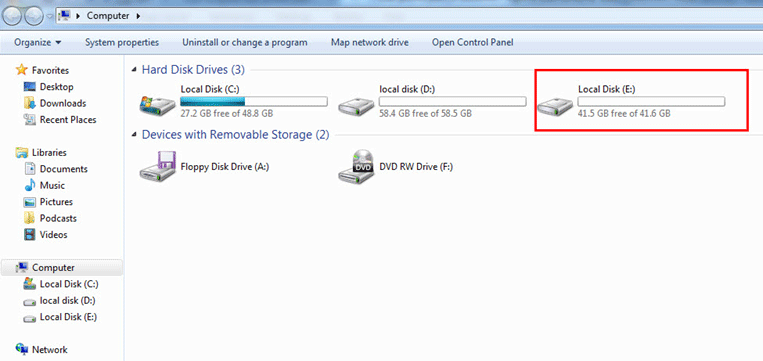
- Step 1: – Click on the start button and select Computer.
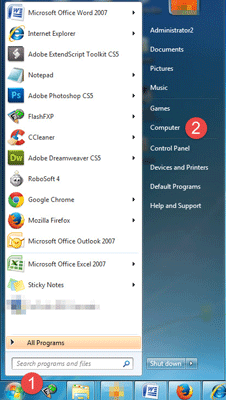
- Step 2: – Select Local Disk(c):
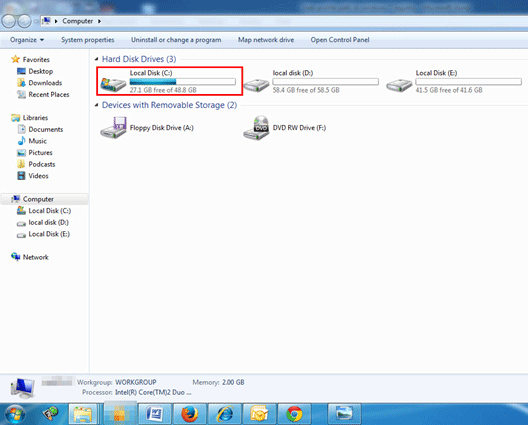
- Step 3: – A window will appear, now click Users from the list.
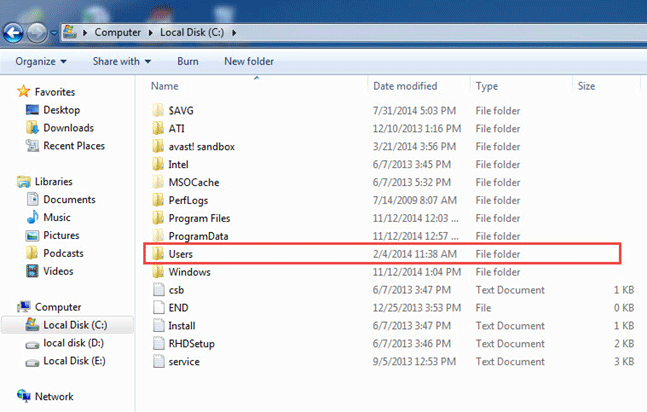
- Step 4: – Click on user you will get the user accounts running on the computer.

To Change User Profile Path Or User Name In The Registry
- For Changing User Profile Path in the registry
To change user profile path follow these steps:-
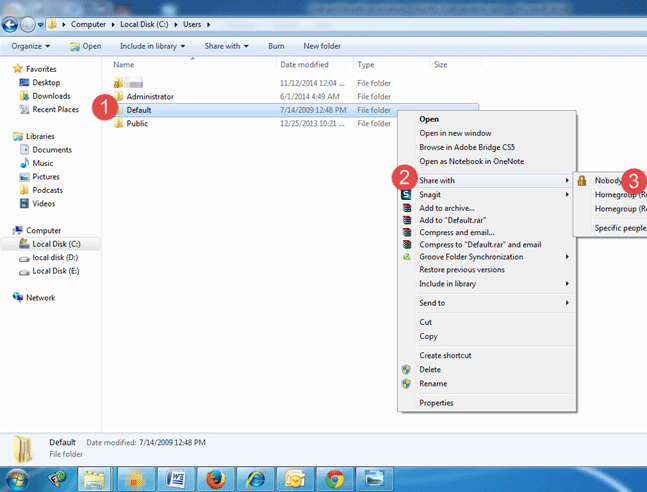
- Step 1: – Log on to the user account which you want to move. Then perform the steps below
o Right click on user folder
o Hold your mouse on share
o Click on nobody.
- Step 2: – Log off the account.
- Step 3: – Log on through a different account which is not being moved.
Note: – If you don’t have a different account than you need to create one and log in to it.
- Step 4: – Navigate to the place where you want to move the folder. For example if you want to move the folder to E drive than open E drive.
- Step 5: – Right click on the blank page and click paste.
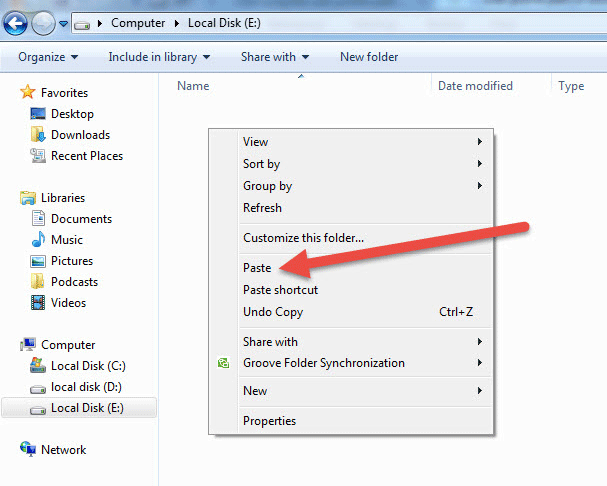
- Step 6: – A new folder will be visible in E drive with the name default.

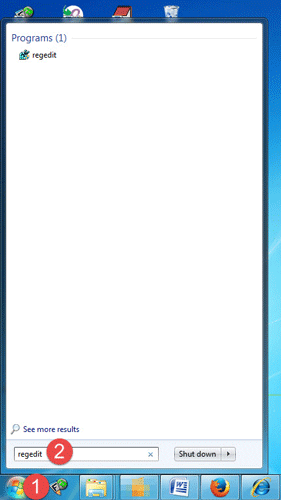
- Step 7: – Click on Start menu.
o Type regedit in the search box
o Press enter.
- Step 8: – In regedit, move to the location given below:
o HKEY_LOCAL_MACHINE
o SOFTWARE
o Microsoft
o Windows NT
o CurrentVersion
o ProfileList
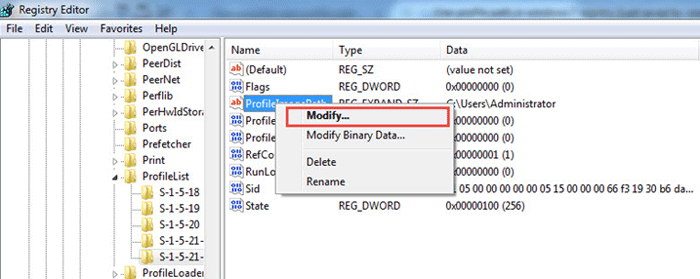
- Step 9: – In registry editor window search for profileImagePath.
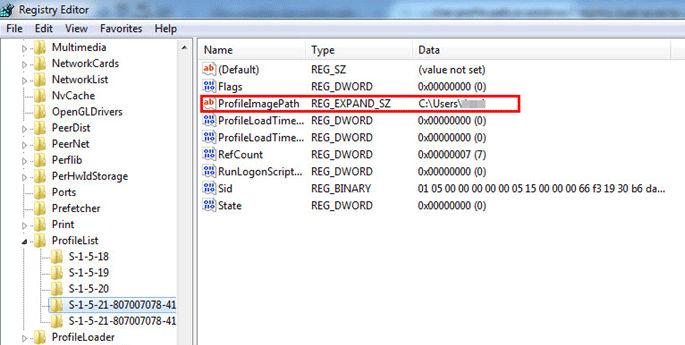
- Step 10: – Right click on profile image path and select Modify
- Step 11: – Type the full path of the location where you have copied the user profile.
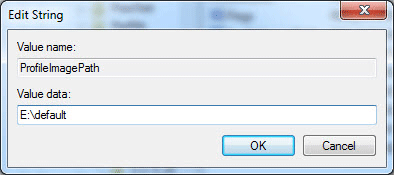
- Step 12: – Click on OK.
The path of the default user profile is changed from C:\users\default to E:\Default
- For Changing User Profile Name In The Registry
In order to change user profile name in the registry follow these steps:
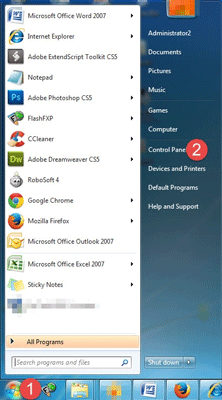
- Step 1: – Click on Start menu and open Control Panel.
- Step 2: – In Control Panel Window click on User Account.
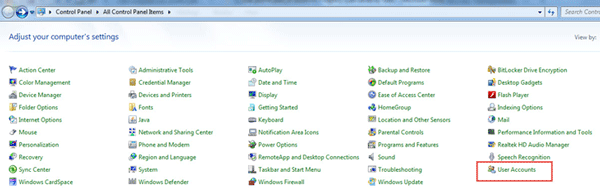
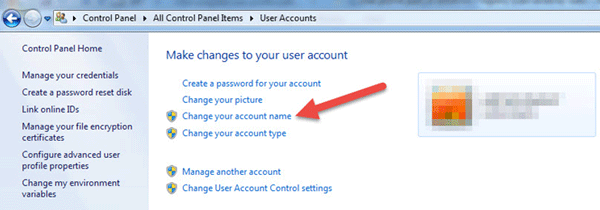
- Step 3: – A User Account Window will appear.
- Step 4: – Click on change your account name.
- Step 5: – Type new user name and click on change name.
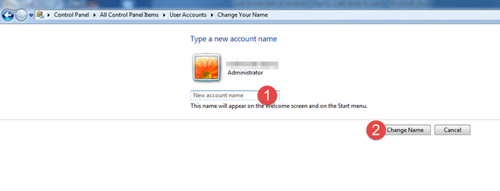 On following the above steps user profile name in the registry is changed.
Conclusion
It has become a common need today to change user profile path and name in registry. The above mention steps should be performed with great care as any mistake could lead to major problem.